By Michael Elmore

Sadly, the answer is no. At least, not a healthy salad. But fear not, methods abound to lighten up this Southern classical dessert and spruce it up for summer as well. As strawberry season nears its end here in Virginia, what better way to pair up the classic combination of strawberry and rhubarb than a bread pudding?
While not healthy, this dish makes some critical substitutions from most recipes. First, you’ll notice there’s not as much sugar. We are going to rely on some overripe strawberries rather than sugar to make up the difference. You’ll also note that we don’t use whole milk or heavy cream – both of which would make this dish richer, more decadent, and delicious, but we sacraficed some of this to make the dish lighter.
Also, we didn’t have ice cream, but certainly feel free to make any of these substitutions back (the cook’s note beneath the recipe will list how to make the heavier version substitutes).
So let’s grab some strawberries, and make this (non-)salad!
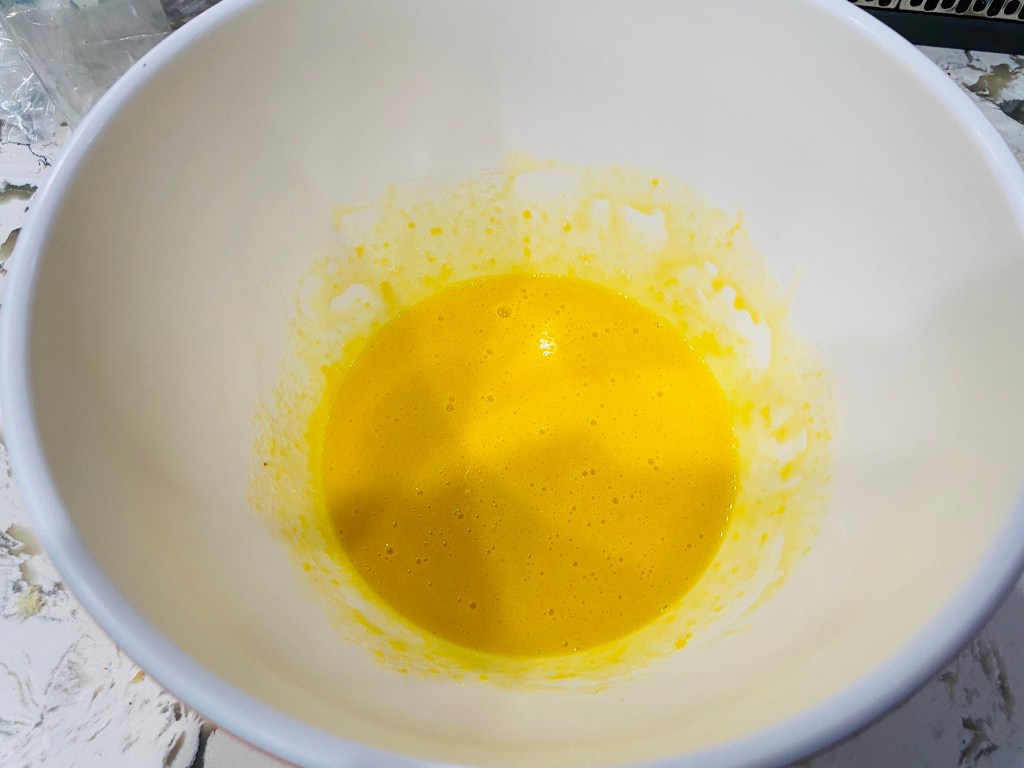
Beat the egg yolks. 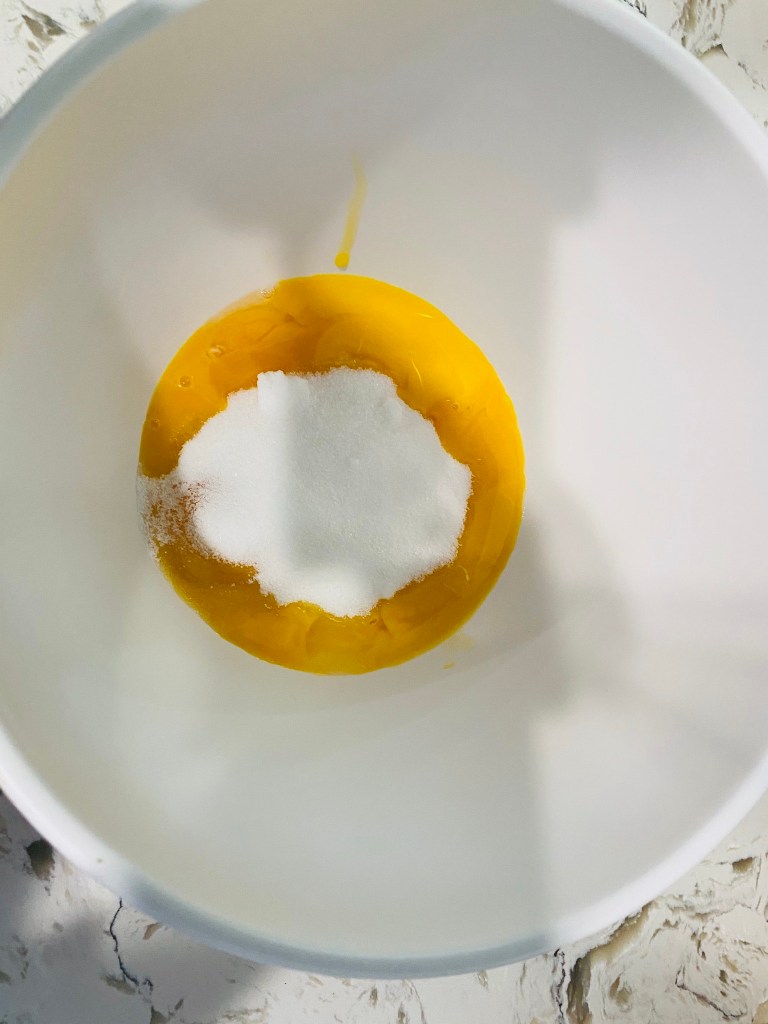
Beat in the yolks with the eggs until pale in color. 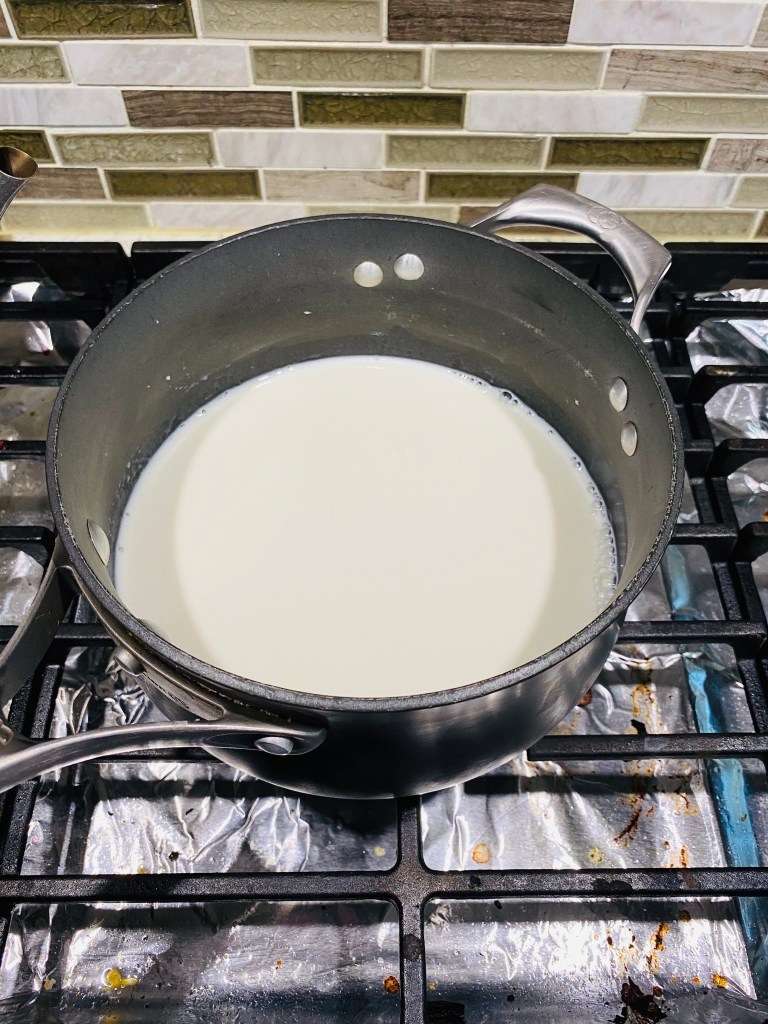
On the stove, place the milk and half and half, and bring to a simmer, being careful not to scald it. 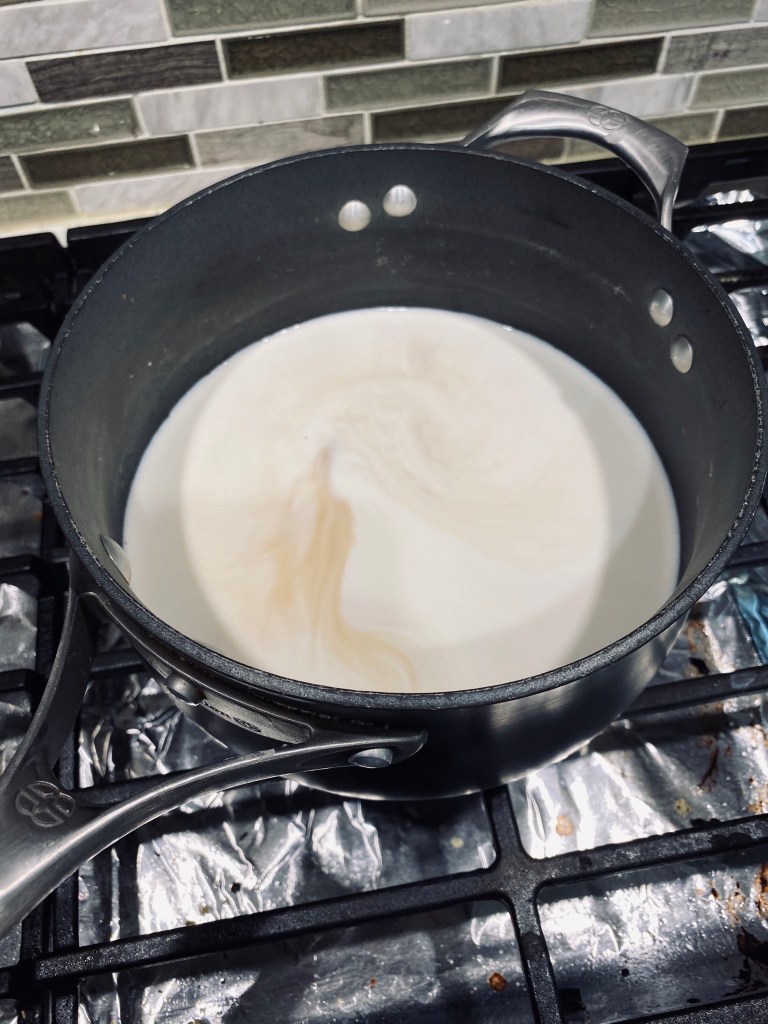
Add the vanilla and salt. 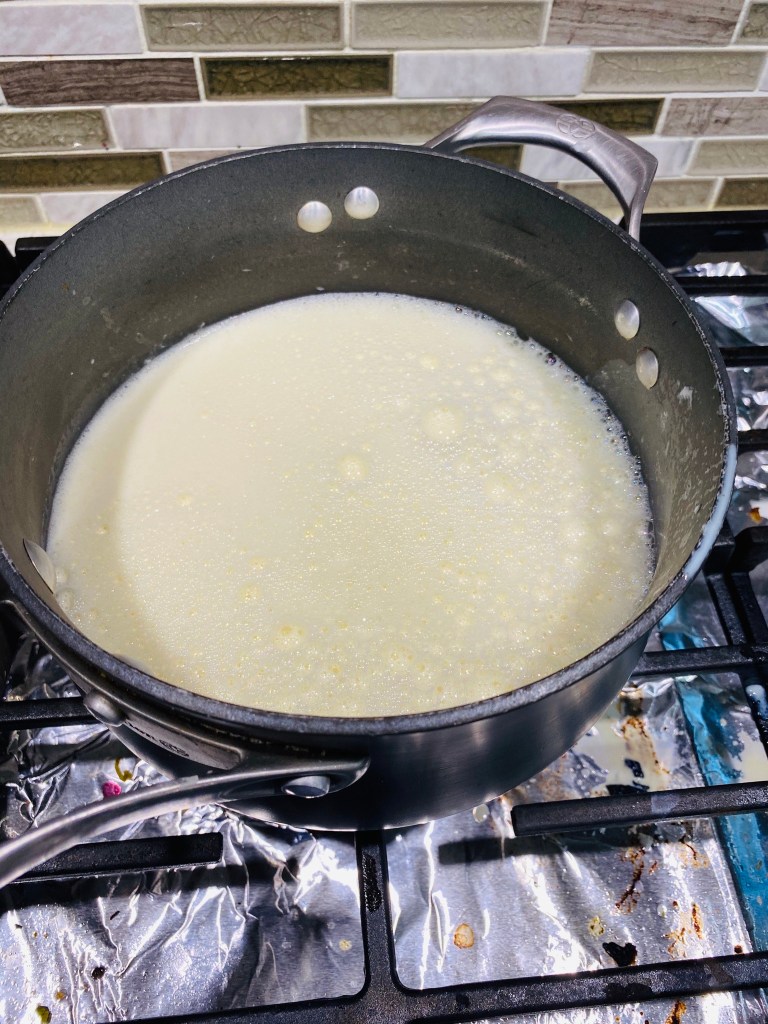
After you temper the eggs, add it back to the pot and bring back to a simmer. 
Stir frequently, watching the heat, to prevent the eggs from scrambling, until the custard thickens. 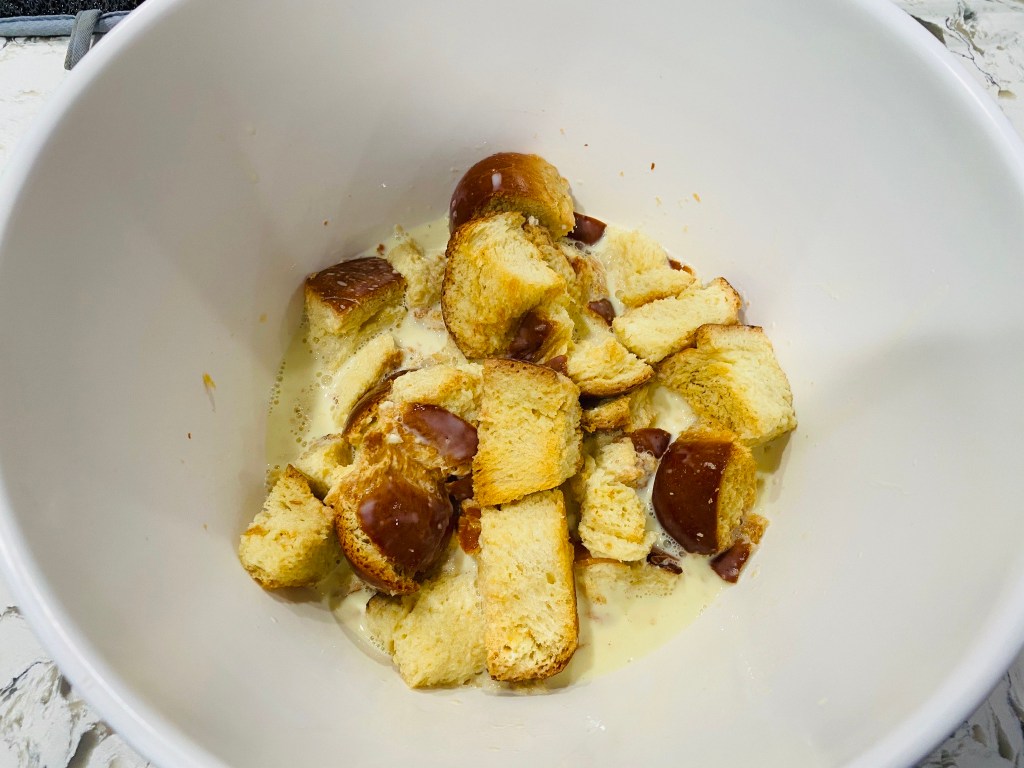
Soak the stale bread with the mixture. 
Macerating fresh fruit with a little sugar can help make them more flavorful. 
Combine the two mixtures. 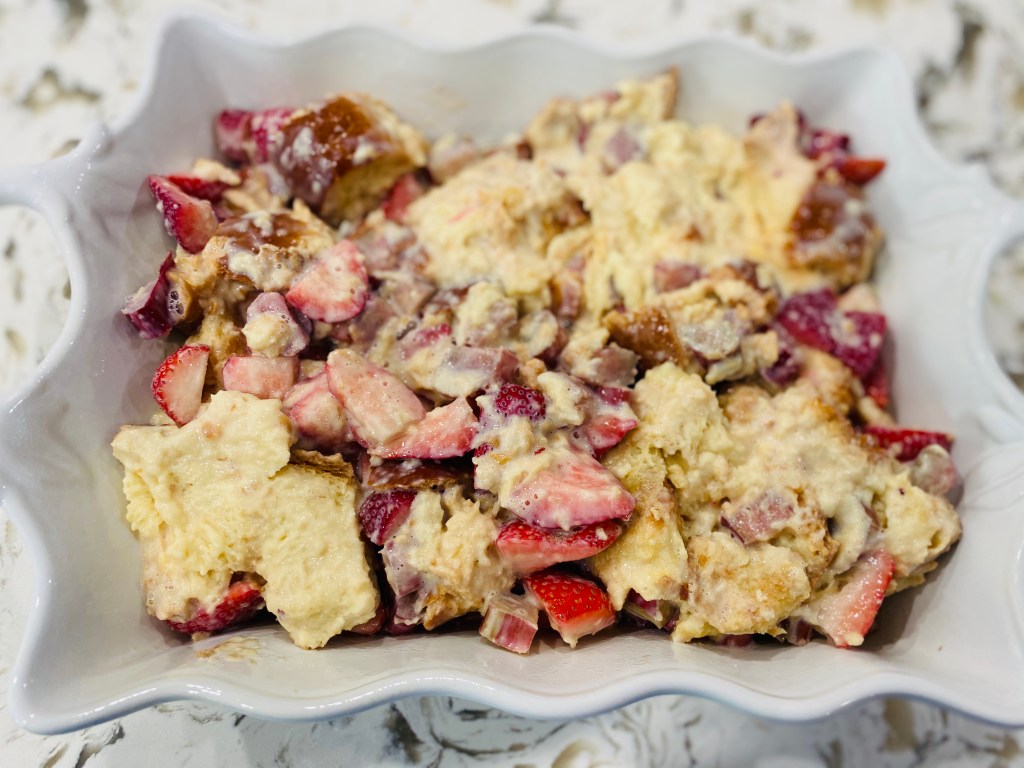
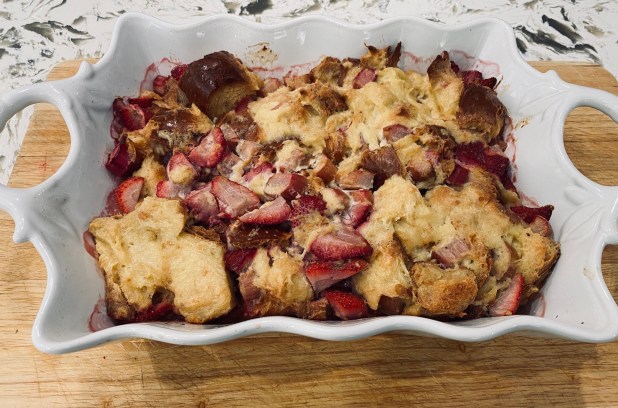
Place the bread and filling mixture into a greased baking pan. 
Bon appetit!
Ingredients:
- 1 quart strawberries, stemmed and quartered
- 3 stalks rhubarb (warning: discard any leaves and the ends – the leaves are toxic)
- 6 cups of day old bread of preference, cubed or torn into thick chunks
- 1 ½ cups 1% milk
- 1 ½ cups half and half
- 6 egg yolks
- ½ cup sugar plus 2 tablespoons
- 1 tbsp vanilla
- Pinch of salt
- Non-stick cooking spray
Directions:
- Slice the rhubarb into small pieces, add to the strawberries, and toss with the two tablespoons of sugar and the vanilla. Set aside in the fridge, covered.
- Place the cubed bread in a large bowl and set aside. In a small cooking pot, add the milk and half and half, along with the pinch of salt. Bring to a simmer over medium heat, being careful not to scald the mixture. While waiting for the mixture to heat in another large bowl, add the egg yolks and remaining sugar. Beat together until light and fluffy. Once the mixture is simmering (but not scalded), turn off heat. One ladle at a time, whisk the hot mixture into the eggs while whisking to temper the eggs. Repeat until 1/3 of the mixture has been added to the eggs in this fashion, continuing to whisk the entire time to avoid the eggs scrambling. (Tip: if your eggs do scramble at any point, use a fine mesh sieve to retain as much of the custard mixture as you can). Slowly add the remaining mixture to the egg mixture, continuing to whisk until fully incorporated.
- Add the mixture back to the sauce pot and put heat back to medium high. Stir frequently until the mixture thickens and holds on a spoon (approximately 160 degrees Fahrenheit).
- Pour the mixture over the bread. Let soak at least 15 minutes up to an hour (if waiting more than 15 minutes, put in the fridge after it cools).
- Add the strawberry and rhubarb mixture to the bread mixture and gently toss to incorporate thoroughly. Spray a 9 x 13 baking dish with non-stick spray and then add the mixture evenly to the dish. Let sit in the fridge at least one hour, covered, up to overnight.
- When ready to back, preheat the oven to 350 degrees Fahrenheit. Put in the oven, uncovered, for 45 minutes – 55 minutes, or until set. Remove from the oven and let rest for at least 15 minutes. Serve and enjoy!
Cook’s Notes:
If you want to use the more decadent recipe for a special occasion, bump up the sugar in the egg mixture to 1 cup, and replace the milk and half and half with whole milk and heavy cream, respectively. The custard mixture will be thicker at this point because of the increased fat content, just keep stirring so the eggs do not scramble!