By Michael Elmore
Few things remind me of my childhood more than a Sunday brunch. Growing up, it became a weekly tradition to have a large brunch after mass on Sunday morning. While my brunches all these years later do not always consist of hummus, falafel, and a glorious over abundance of cheeses, meats, and olives, it is a tradition I continue to try to maintain.
Being diabetic certainly led to some of my favorites having to be modified, however. Gone are the days of the buttermilk biscuit (though keep an eye out for a lighter version coming soon!) smothered in sausage gravy, but some things never changed. This hash is one of them. Have some leftover vegetables from the week? They may go well in a hash. We had some leftover sweet potatoes that we did not get around to finishing earlier this week, an onion and some potatoes on the cusp of their final days. Enter: the hash.
This hodgepodge dish delights the senses with its sweetness from the sweet potatoes being balanced with some heat from cayenne and chili powder reminiscent of flavors well known to Southwestern cuisine.
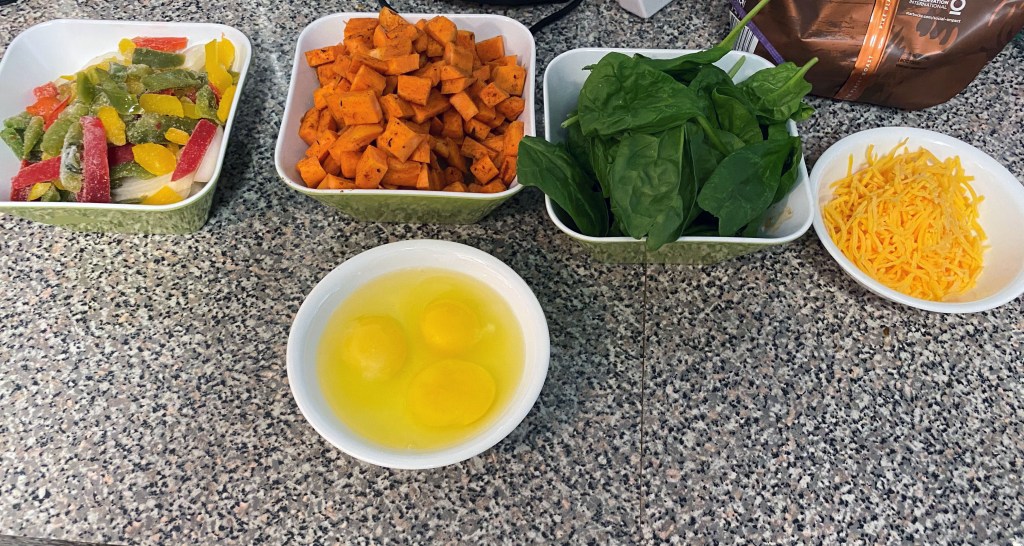
Always get your ingredients prepared before you start cooking! Also known as mis en place, which is French for “everything in place.” 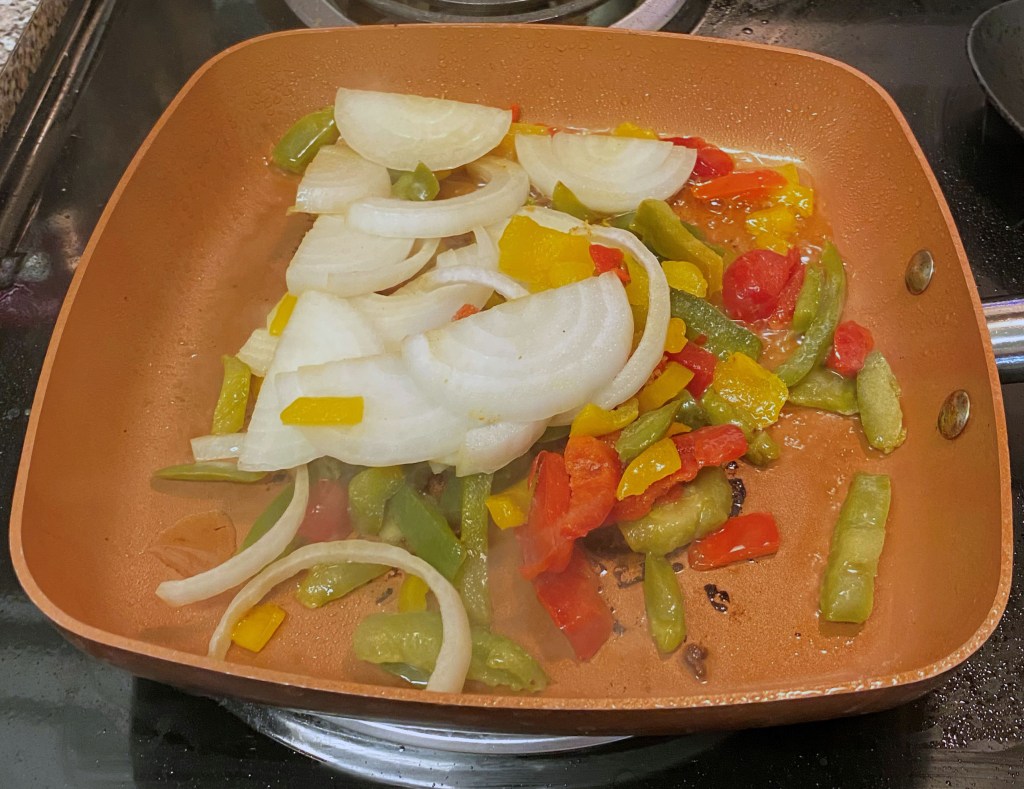
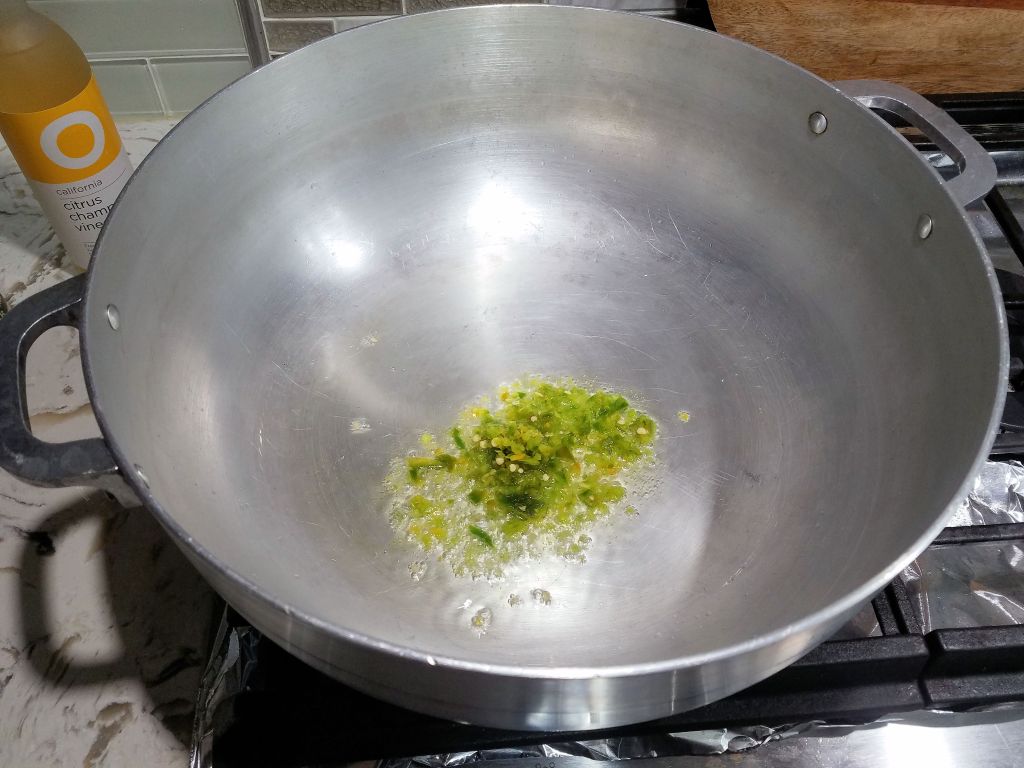
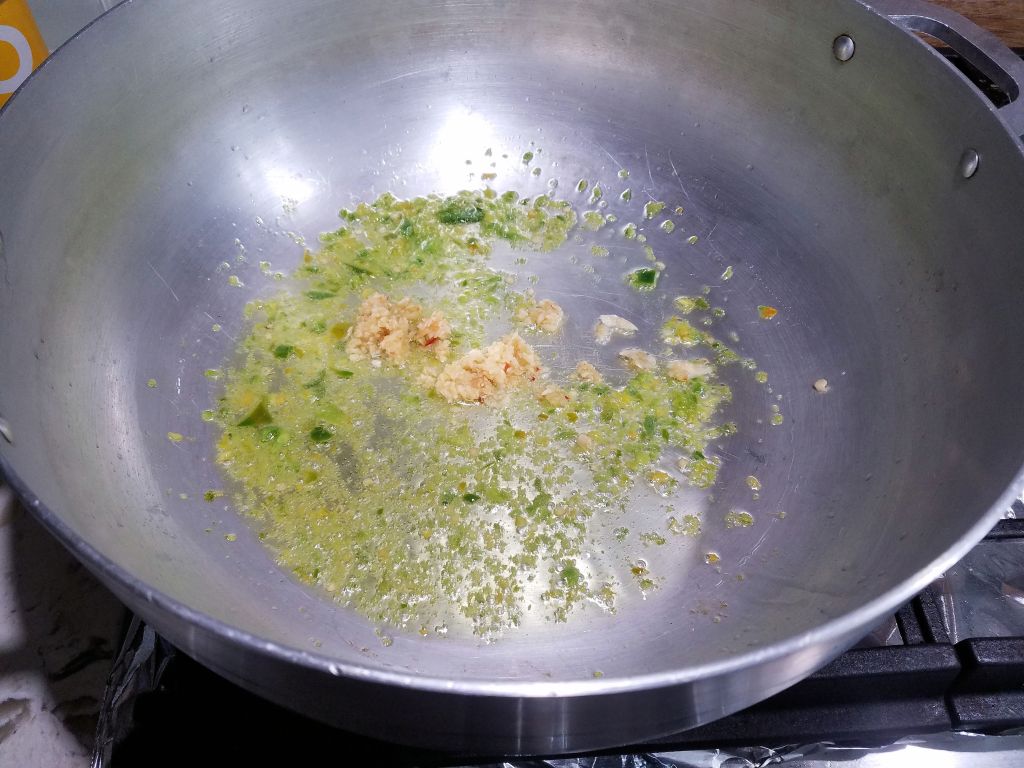
Sautee the onions and peppers until they cook down. 
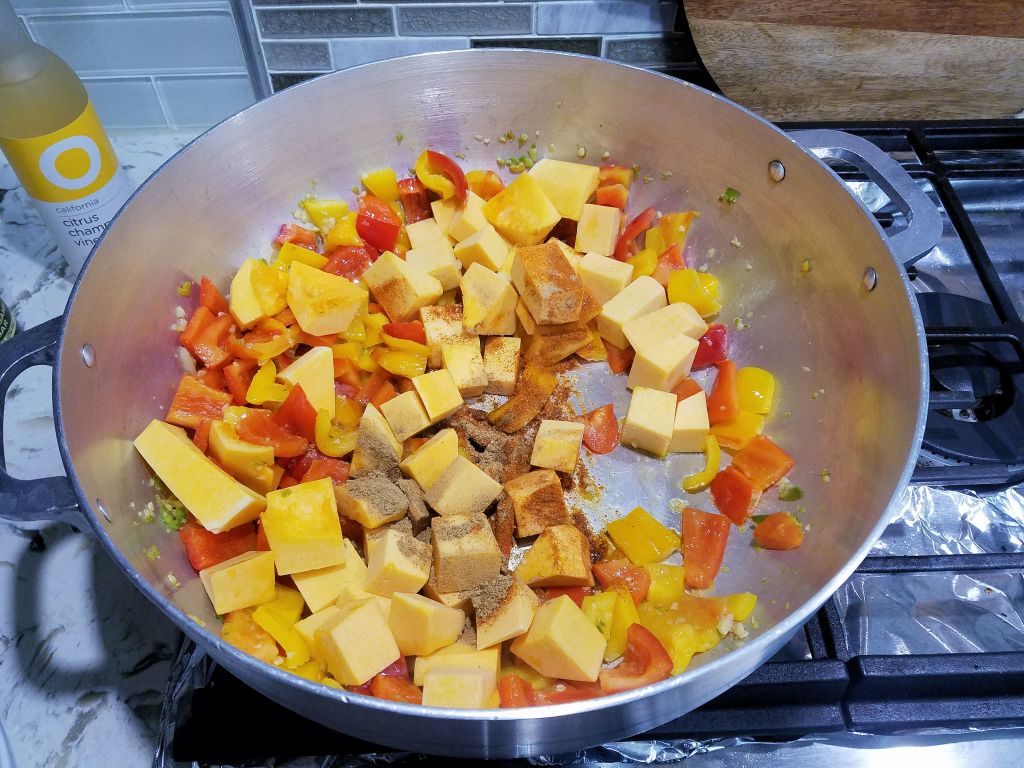
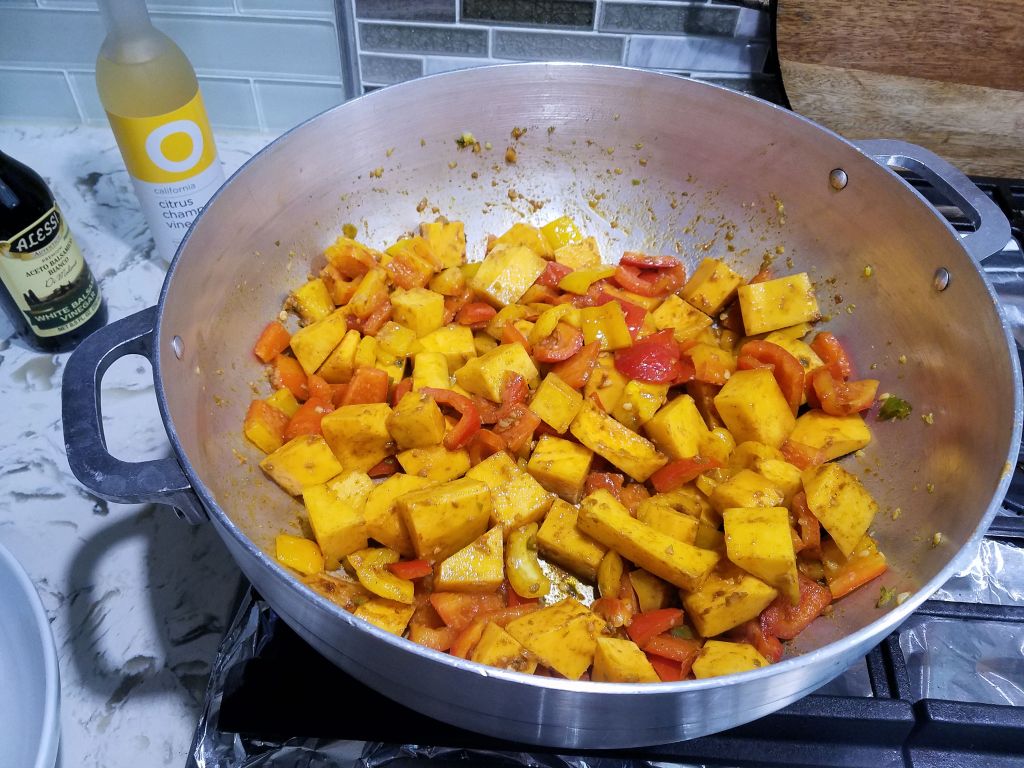
Add the potatoes, stirring frequently and seasoning them. 
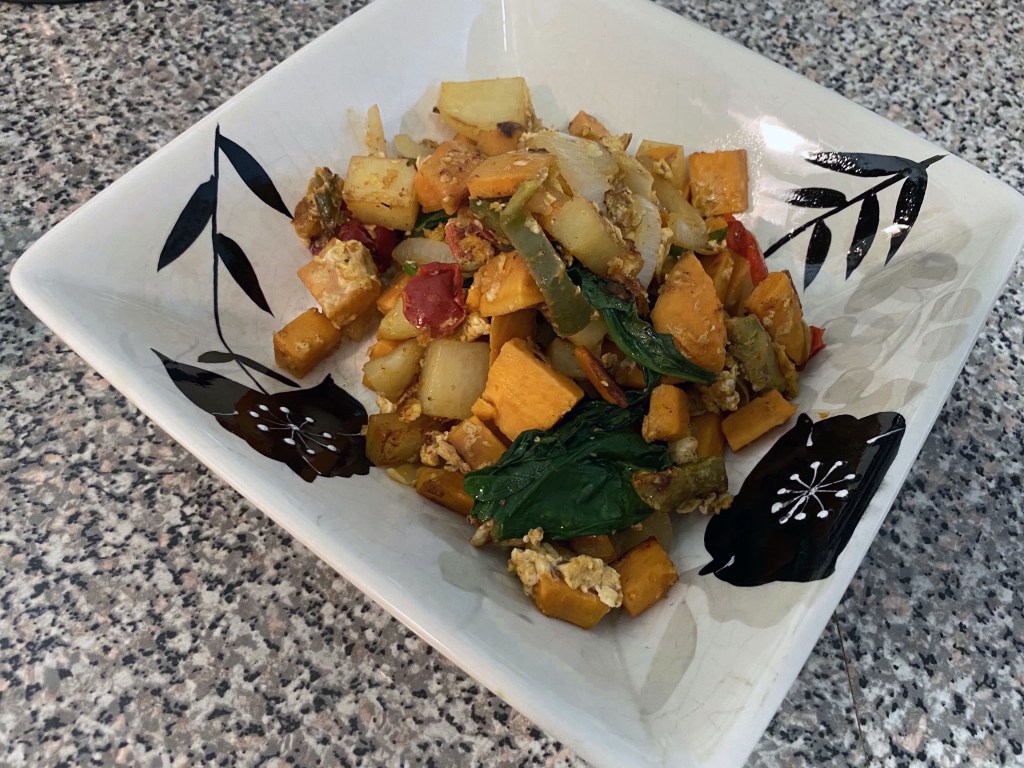
After you add the eggs and cook them, add the spinach. Stirring the greens in will help them cook down more quickly as they incorporate with residual heat. 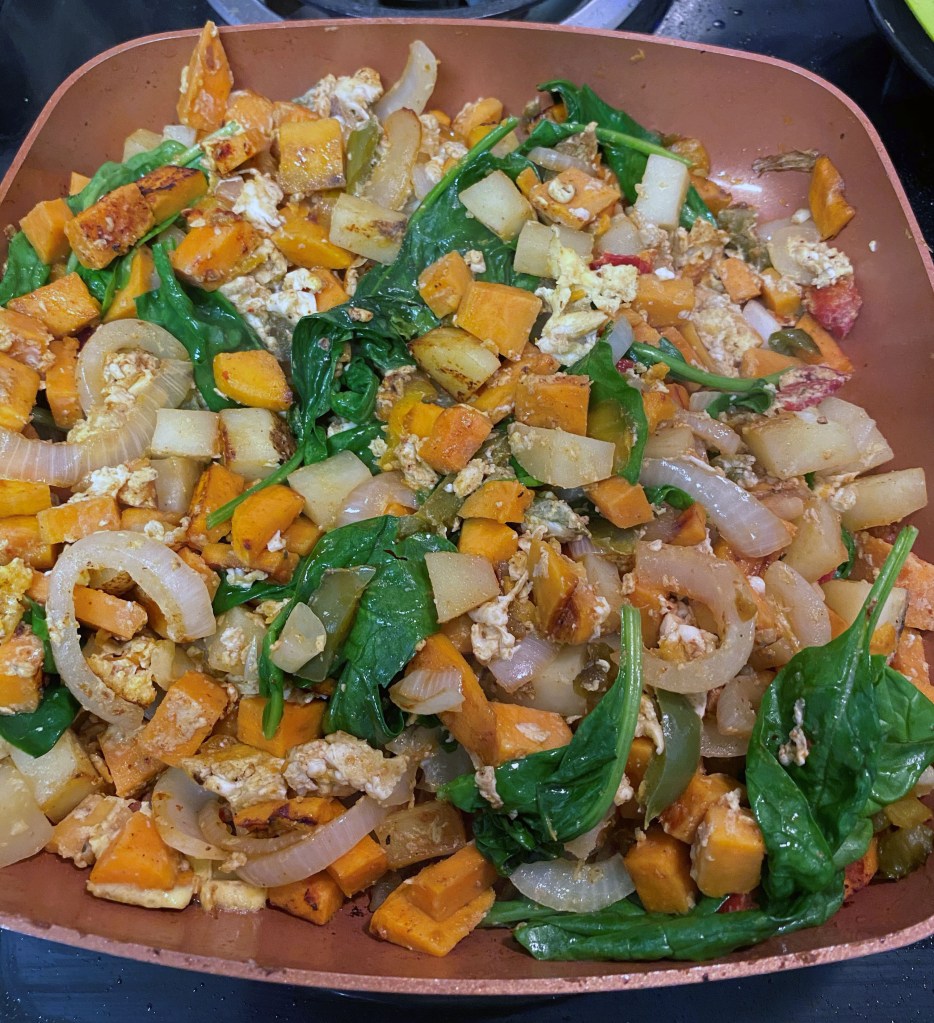
Once everything is cooked, incorporate some cheese off heat. If you want to make this vegan, feel free to ditch the eggs and cheese!
Ingredients:
- 2 tbsp vegetable oil
- 1 onion, sliced
- 1 cup diced bell peppers (feel free to use frozen if that’s what you’ve got!)
- 1 Sweet potato, peeled and diced
- 3 small russet potatoes, peeled and diced
- 3 eggs
- 2 cups baby spinach
- 3 tbsp cheddar, shredded
- Salt
- Pepper
- 1/8 tsp cayenne pepper
- 1/2 tsp chili powder
- 1/2 tsp smoked paprika
Directions:
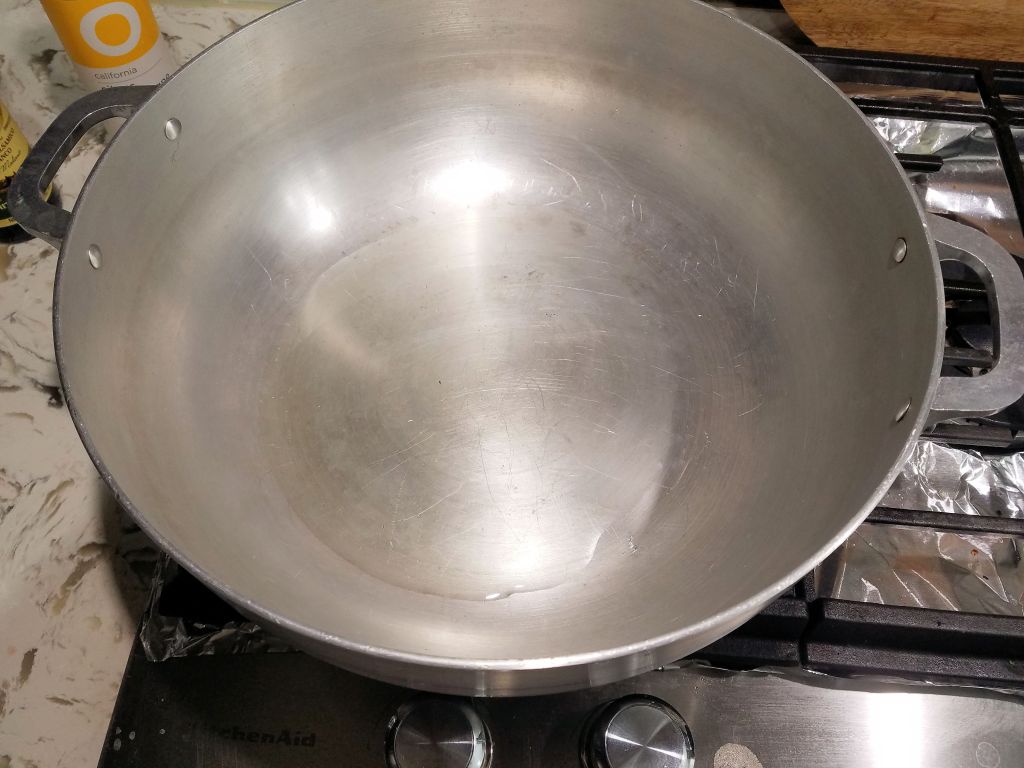
- Heat the oil in a non-stick pan. This recipe works well in a cast-iron pan as well but be prepared for more sticking (though crispier potatoes).
- Add the onions and peppers with a pinch of salt. Cook down until the onions are nearly translucent, approximately 4-5 minutes.
- Add potatoes. Cook, stirring occasionally, until the potatoes are crisp tender, approximately 15-20 minutes depending on stove top. Add the chili powder and smoked paprika while the potatoes are cooking.
- Once the potatoes are cooked, add the eggs, stirring frequently until the eggs are cooked. Add the cayenne pepper, another pinch of salt, and the black pepper to this step.
- Add the spinach, stirring frequently until it cooks down and is wilted. This will not take long. Turn off heat and add the cheddar cheese, mixing it in well so that it melts. Adjust salt and pepper to taste. Serve and enjoy. Optional: Serve some lime with it to brighten up the dish and have some acidity to play off the heat from the peppers and sweetness of the vegetables.