Sort-of Ajiaco Soup

By Michael Elmore

Ajiaco is a traditional Columbian soup (specifically, Bogota) that is hearty and filled with some pretty delicious flavors, from a rich, velvet broth to starchy potatoes, and chicken that has melted away. Making it here in the United States, however, proves difficult due to two ingredients that are pretty difficult to come by: a potato variety specific to Latin America of very think skinned, and very small yellow potatoes, and guascas, or potato weed, an earthy herb.

One of my closest friends is Columbian, and while she traveled there this year pre-pandemic, she sent me photos of this dish, and the mouth-watering sight put it on the list of new things to try. I confess, I forgot about my list until recently while watching a food documentary that happened to talk about it. Being in self-isolation from my move, what better time to reach for new flavors than the present?

This recipe is not ajiaco. Unable to find the necessary potatoes and the guascas, I did my best to replicate the flavors described to me by my friend while she attempts to hunt down those ingredients for me so that I can make a proper ajiaco. However, whatever this dish may or may not be, it is certainly delicious. While the recipe looks long, it is a fairly straight forward dish, but be sure to read the recipe first before planning on making it! Buen provecho!

Ingredients:

  • 5 green onion stems (white part with roots only – reserve the remainder for other dishes)
  • 3 garlic cloves, crushed
  • ¼ of an onion, cut in half (reserve the remainder for other dishes)
  • ¼ of a bunch of cilantro
  • 3 chicken quarters
  • 3 cups chili stock (make this ahead of time – soak dried chilis of your choice in a big bowl of water, then blend the next day. You can skip this step if you like by replacing this with more stock).
  • 5 cups good quality chicken stock
  • ½ tsp salt
  • ½ tsp black pepper
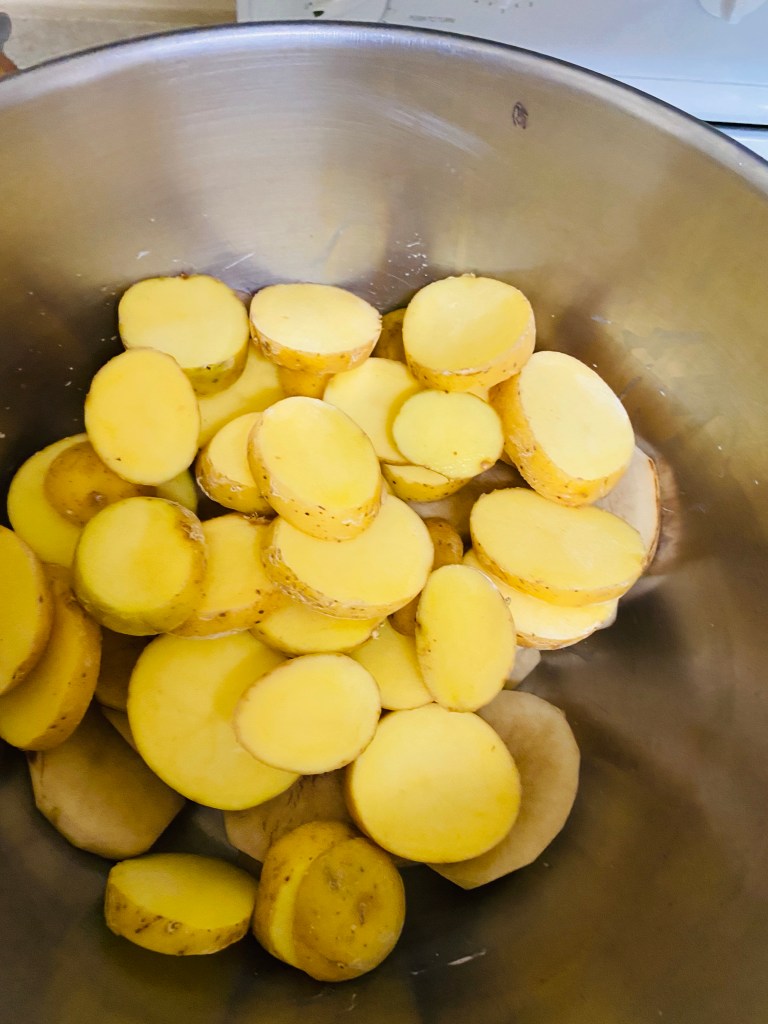
  • 6 small Yukon gold potatoes, cut into ¼ inch slices
  • 3 russet potatoes, divided (peel and grate 1 of the potatoes; peel and slice into ¼ inch rings for the other 2 potatoes)
  • 2 ears of corn on the cob, cleaned and sliced into 6 equal pieces
  • 1 tbsp Mexican oregano

Directions:

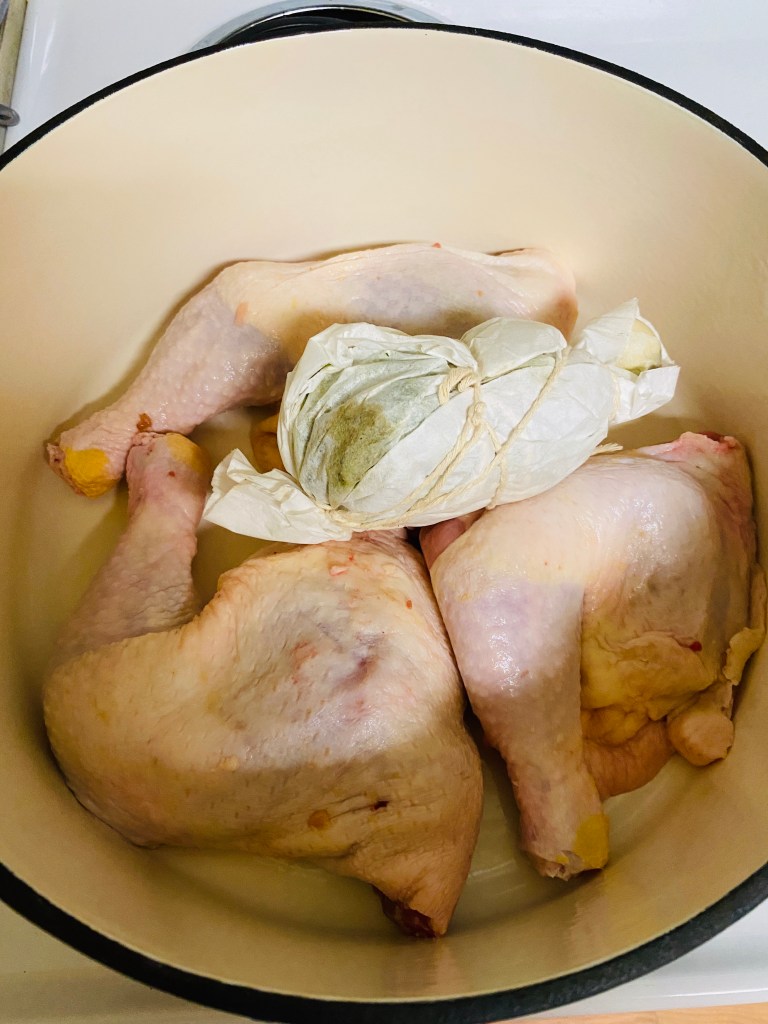
  1. In a cheesecloth (I did not have a cheesecloth, and if you don’t, that’s alright – use coffee filters like I did), place the first three ingredients and enclose, then tie tightly with butcher’s twine so nothing falls out.
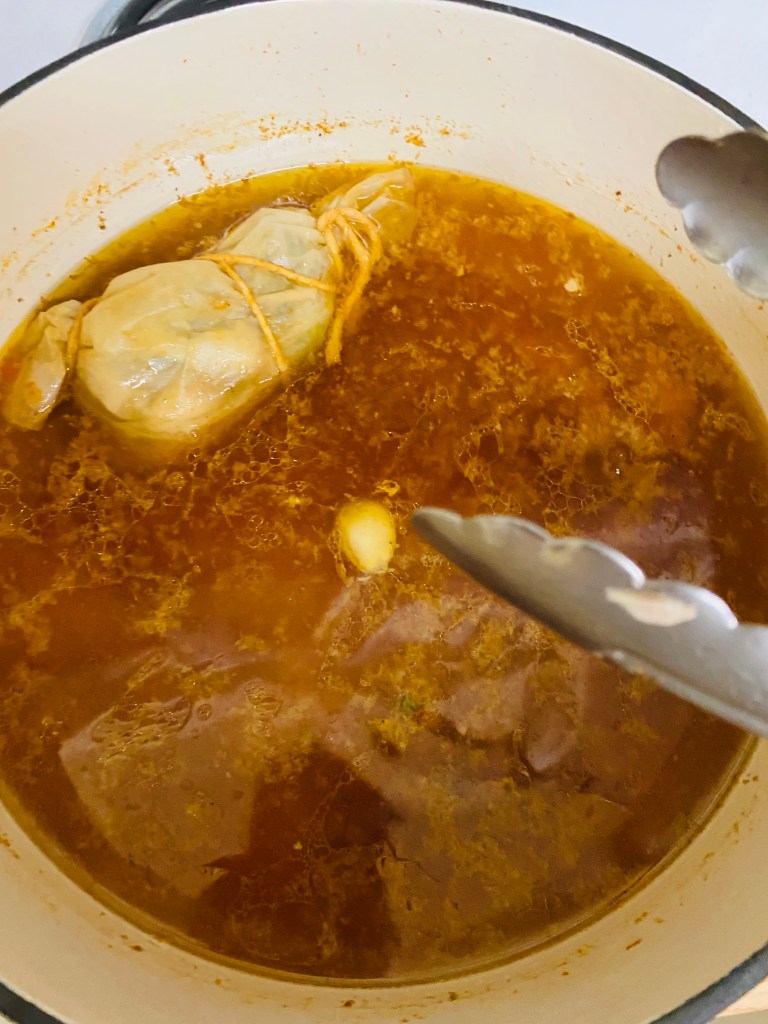
  2. In a large pot, add the chicken, the cheesecloth, all 8 cups of the stock, the salt, and the pepper. The stock should submerge the chicken completely – if not, add more stock or water. Bring to boil slowly over medium high heat, then reduce to simmer and cover. Slow cook on low, checking on it frequently, for approximately 3 hours.
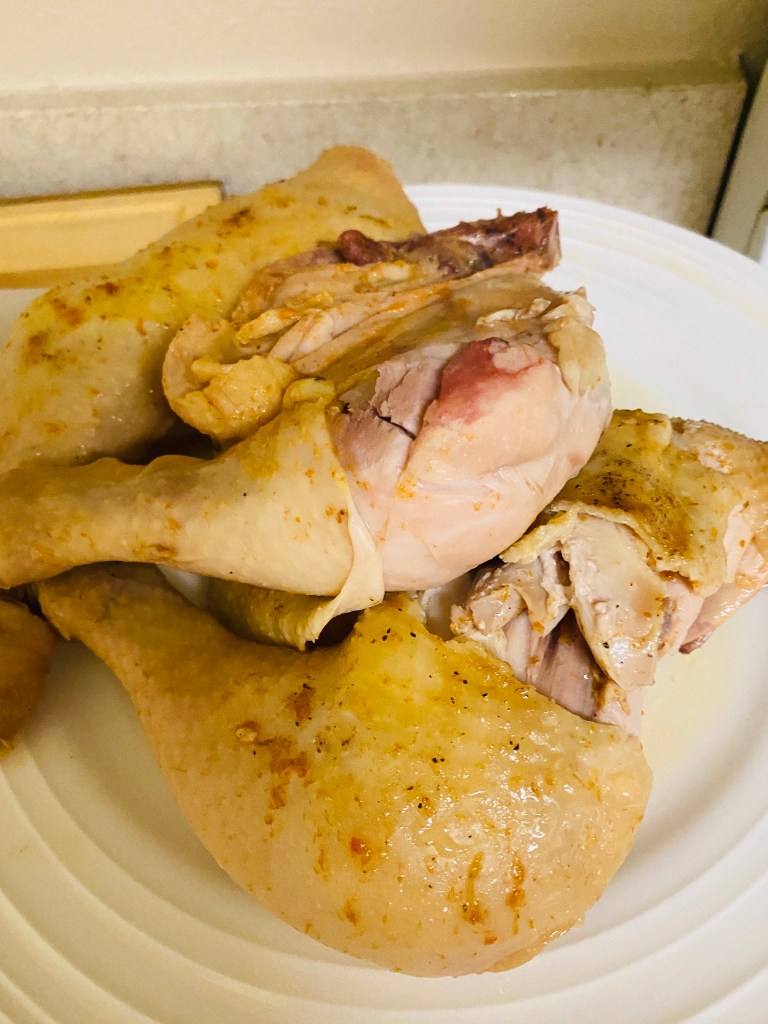
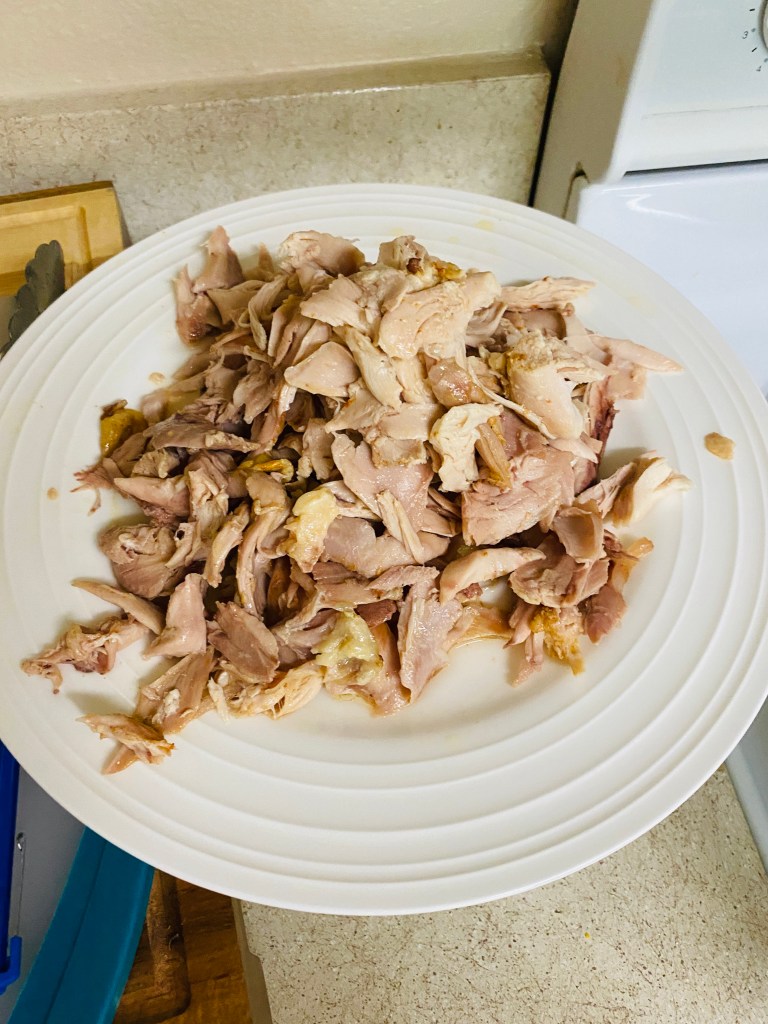
  3. Check on the chicken, it should be cooked at this point, and very tender. Using tongues, pull the chicken out and set aside to cool. Once cool enough to handle, pull apart into pieces (tip: save the bones to make some stock later).
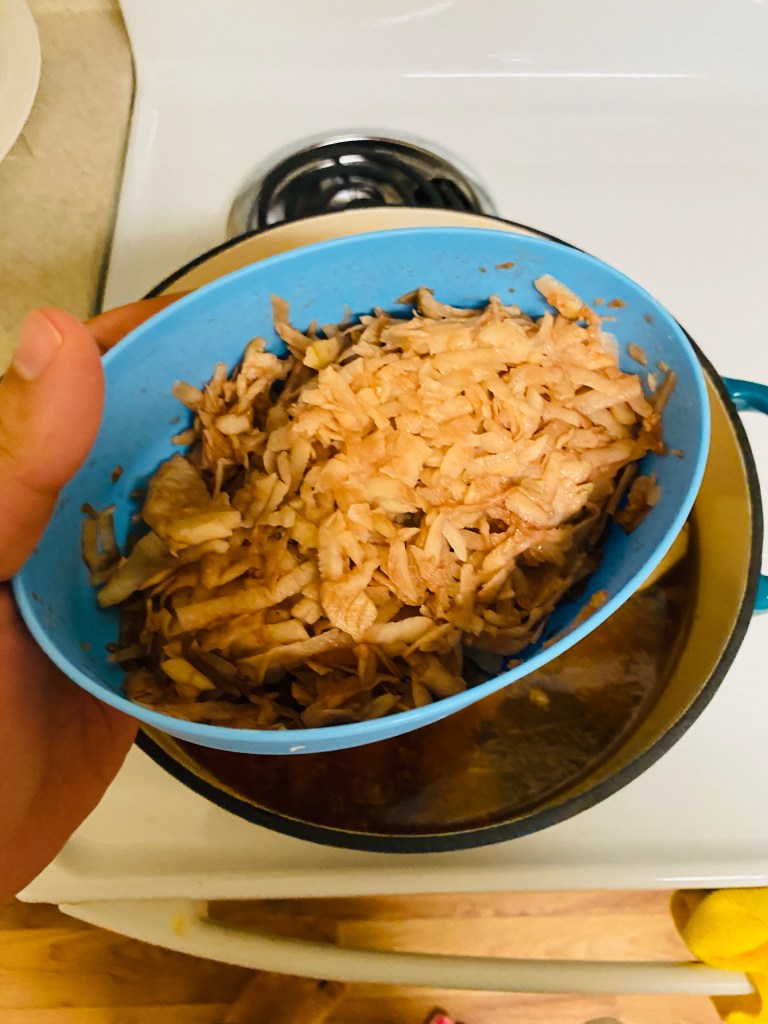
  4. Add the potatoes to the pot, including the grated potato. Cook, covered, another 30-40 minutes until the potatoes are extremely soft and starting to fall apart. Using a stick blender, blend the mixture for 30-60 seconds until thickened. In the alternative, if you do not have a stick blender, take half the potato mixture out and put into a blender, then return it to the pan, or add a roux.
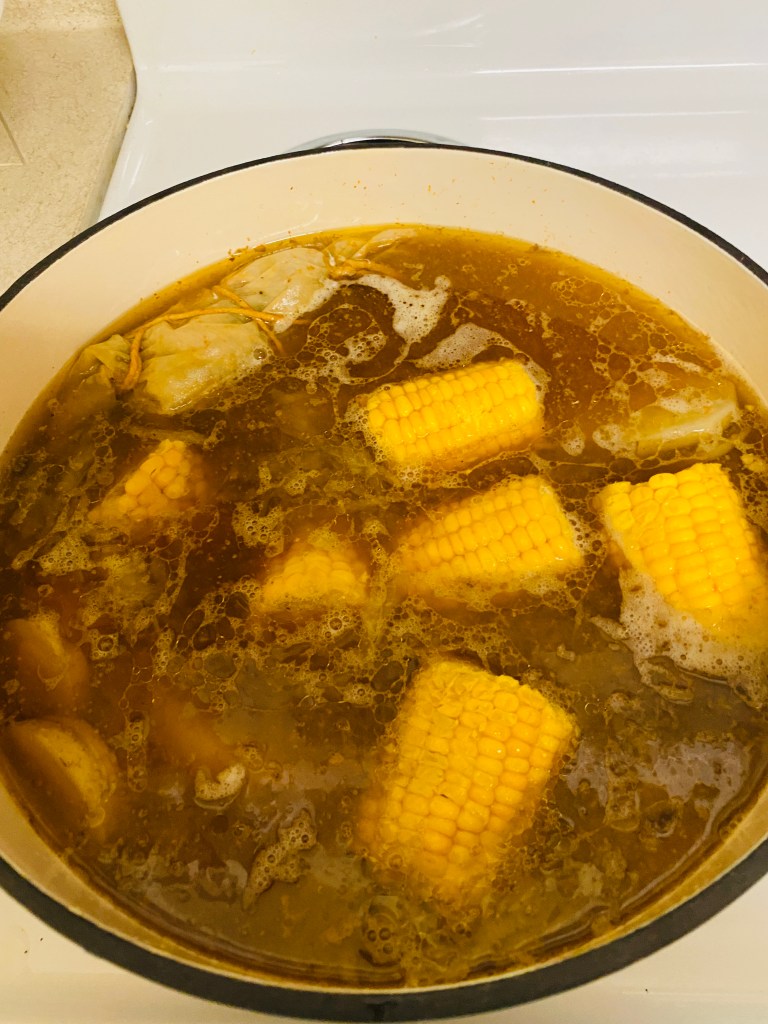
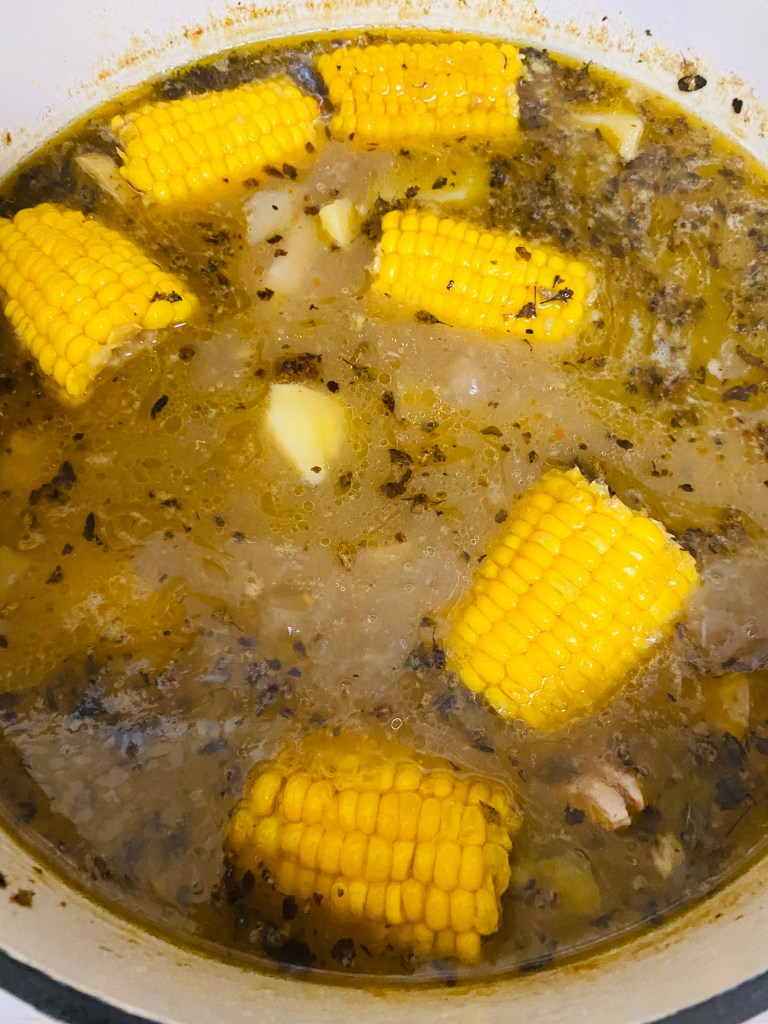
  5. Add the corn and the Mexican oregano. Cover and cook another 20 minutes. Taste and adjust seasonings.
  6. The soup is done. You can return the chicken to the pot or you can serve it in a more traditional style and plate the soup separately, then add the chicken and corn piece to each bowl. Serve immediately or serve later by reheating slowly!
Advertisement

Summer Grilling Happened So Fast

By Michael Elmore

My dad’s birthday was a couple of weeks’ ago (Happy Birthday, dad!), and what better way to celebrate a summer birthday by grilling up a storm. We made a number of dishes, but the favorites may surprise you: grilled portabellas and cauliflower, and grilled whole fish.

While a rib eye maintained its well earned love by my mother and me, my father prefers lighter meats, such as fish, and has a passion for vegetables without rival. To be sure, between the tender flesh of the branzini and the smokey, melt-in-your-mouth mushrooms, nobody will miss red meat if you decide to just go with those items for your next cook out and ahead of the Fourth.

Chili Spiced Portabella Caps

Ingredients:

  • 4 portabella caps, stems removed (reserve these for another use such as making vegetable stocks, or dicing and sauteing them as a topping for a burger).
  • 2 tbsp vegetable oil
  • 1 tbsp cumin
  • 2 teaspoons chili powder
  • 1/4 tsp cayenne pepper
  • 1/2 tsp salt

Directions:

  1. Mix all ingredients except the mushrooms together in a bowl to make a thick paste – add more vegetable oil if needed.
  2. Slather the mushrooms evenly with the paste, and place in a plastic bag up to overnight so that they absorb the flavors.
  3. When ready to cook, on a hot, well-oiled grill, over direct heat, cook the mushrooms for approximately 3 minutes per side, trying to flip the mushroom as infrequently as possible as the flames allow.
  4. Serve immediately – if desired, squeeze some lime juice on top before serving.

Grilled Whole Branzini

Ingredients:

  • 2 whole branzini – ask your fishmonger to clean and gut these for you.
  • 2 lemons, sliced
  • 1 bunch of cilantro, trimmed and cleaned
  • 1 tsp salt, divided
  • 1 tsp pepper, divided,
  • 1 tbsp cumin, divided
  • 2 teaspoon chili powder, divided
  • vegetable oil

Directions:

  1. Several hours before you wish to grill, take the whole branzini and rinse them under cold water, making sure the fishmonger did not leave any remnants of unpleasantness in them and that the fish is entirely de-scaled. If not, de-scale the fish by running the back of a knife against the fish to get any missed scales.
  2. Make sure you have everything prepped ahead of time. Squeeze some vegetable oil throughout the fish (we did this previously out of video).
  3. With your CLEAN hand, sprinkle the seasonings evenly among both fish and the cavities of both fish. Stuff the fish with lemon slices and cilantro sprigs – as many as you can fit without the herbs and fruit spilling out.
  4. Wrap butcher’s twine around the fish to keep everything inside of it. Place covered in fridge until ready to grill and up to overnight.
  5. When grilling, make sure you oil the fish (again) very liberally, that the grill is very well oiled, and that you are working on high, direct heat. This will all prevent the fish from sticking. Grill for approximately 4-5 minutes on each side. The fish should not stick when you flip it over if it is cooked and you’ve done all these steps. If you do not feel like dealing with risk of a sticky fish, use a cedar or other wood plank pursuant to their directions and cook the fish on top of that. This will take longer but will still be delicious.
  6. Remove the fish and serve with a squeeze of lemon. Remember to be wary of bones!

Misson Ribs: Oven Styled

The final product – the roasted ribs are at the forefront while the steamed ribs are furthest away. Garnishes of parsley bring some green to the dish and echo with a parsley salad that can be served with heavy barbeque to cut through the richness of the meat.

Sometimes life throws you a curve ball. I had intended to spend this weekend making a number of beef and vegetarian dishes as dictated by a fairly new habit I had formed in creating a twitter poll to dictate my food experimentation for the week. However, that was before the 8 inches of snow covering our yard and the emptied out grocery store shelves.

I started digging around and found some St. Louis style pork ribs, and a friend of mine had just had a conversation with me earlier in the week about her rib woes. Despite many trial and errors, she just could not seem to make her ribs tender.

I decided to try to methods to these ribs to see if I could assist in this problem (I even took notes, which, as many close family and friends would tell you is an exception rather than a rule in my cooking). I prepared one way using a steaming method, while the other slab, I prepared using a roasting method.

There are many decisions to make when making ribs: pork or beef, membrane or no membrane, dry rub or wet marinade. There are endless possibilities and even more preferences. Personally, I prefer a dry rub on pork ribs. I believe keeping the membrane intact, while making for slightly tougher eating, leads to a moister and more tender finished product.

Below, you will find the recipe for the dry rub as well as cooking instructions for both methods.

Dry Rub Recipe:

  1. Combine the above ingredients thoroughly. Store in spice cabinet if not in use.
  • 1 cup brown sugar
  • 3 tbsp smoked paprika (I used smoked here because I did not have access to my smoker due to the weather; if you opt to smoke the ribs, which we will discuss in a later article, you can use regular paprika)
  • 3 tbsp chili powder
  • 4 tbsp cumin
  • 1 tbsp kosher salt
  • 1 tbsp cayenne pepper (less for lower heat, more for higher heat)
  1. Combine all ingredients thoroughly and store in spice cabinet when not in use.

Steamed Ribs:

  • 1 slab St. Louis ribs, pork or beef
  • Dry rub (see recipe above)
  • Apple Cider Vinegar (approximately 2 cups)
  1. Cover ribs with dry rub on both sides until well coated. Do this at least two hours ahead of time or leave in fridge overnight for stronger flavor.
  2. Preheat oven to 225 degrees Fahrenheit. Let sit at this temperature for at least 20 minutes so that the oven can conduct the heat.
  3. Place ribs in a pan on a roasting rack. Place the apple cider vinegar beneath it (not touching) and cover with foil. Place in oven for 4 hours.
  4. Remove foil and increase temperature to 350 degrees for 15 minutes to put some color on the ribs and caramelize the brown sugar on the ribs. Reserve the liquid. Cut ribs into servings (every 2nd or 3rd bone).

Roast Ribs:

  1. Follow steps 1 and 2 of the Steamed Ribs. Instead of a roasting rack, line a rimmed baking sheet with foil paper. Place the ribs on it and cover with foil. At this point, follow steps 3 and 4 of the Steamed Ribs Recipe.