Just Winging It

By Michael Araj

With the big game on last week, our family continued a long-standing tradition where my father would watch the game, and my mother and I would cook several appetizers for dinner to see which one of us would win our wager. A coffee table is as good as any for comfort, and last week was no exception.

On the menu? Well, like most of America, one dish above all others is a constant on our table for the Superbowl and that’s wings. My mother’s and I’s wager extended beyond the game this year as we each strove to make the best wings possible to determine the best approach. Our efforts resulted in a delicious tie, but either of these recipes will be a win with your family.

Buffalo Sauce:

Ingredients:

  • 1 cup of your favorite hot sauce (I prefer Crystal)
  • 4 tbsp butter
  • 1 tbsp dried thyme
  • ¼ tsp salt
  1. Combine all ingredients and bring to a simmer. Simmer for approximately 15 minutes or until butter is melted and ingredients have had time to meld.
  2. This can be made ahead of time. If you’re making this ahead of time, let cool and then refrigerate.
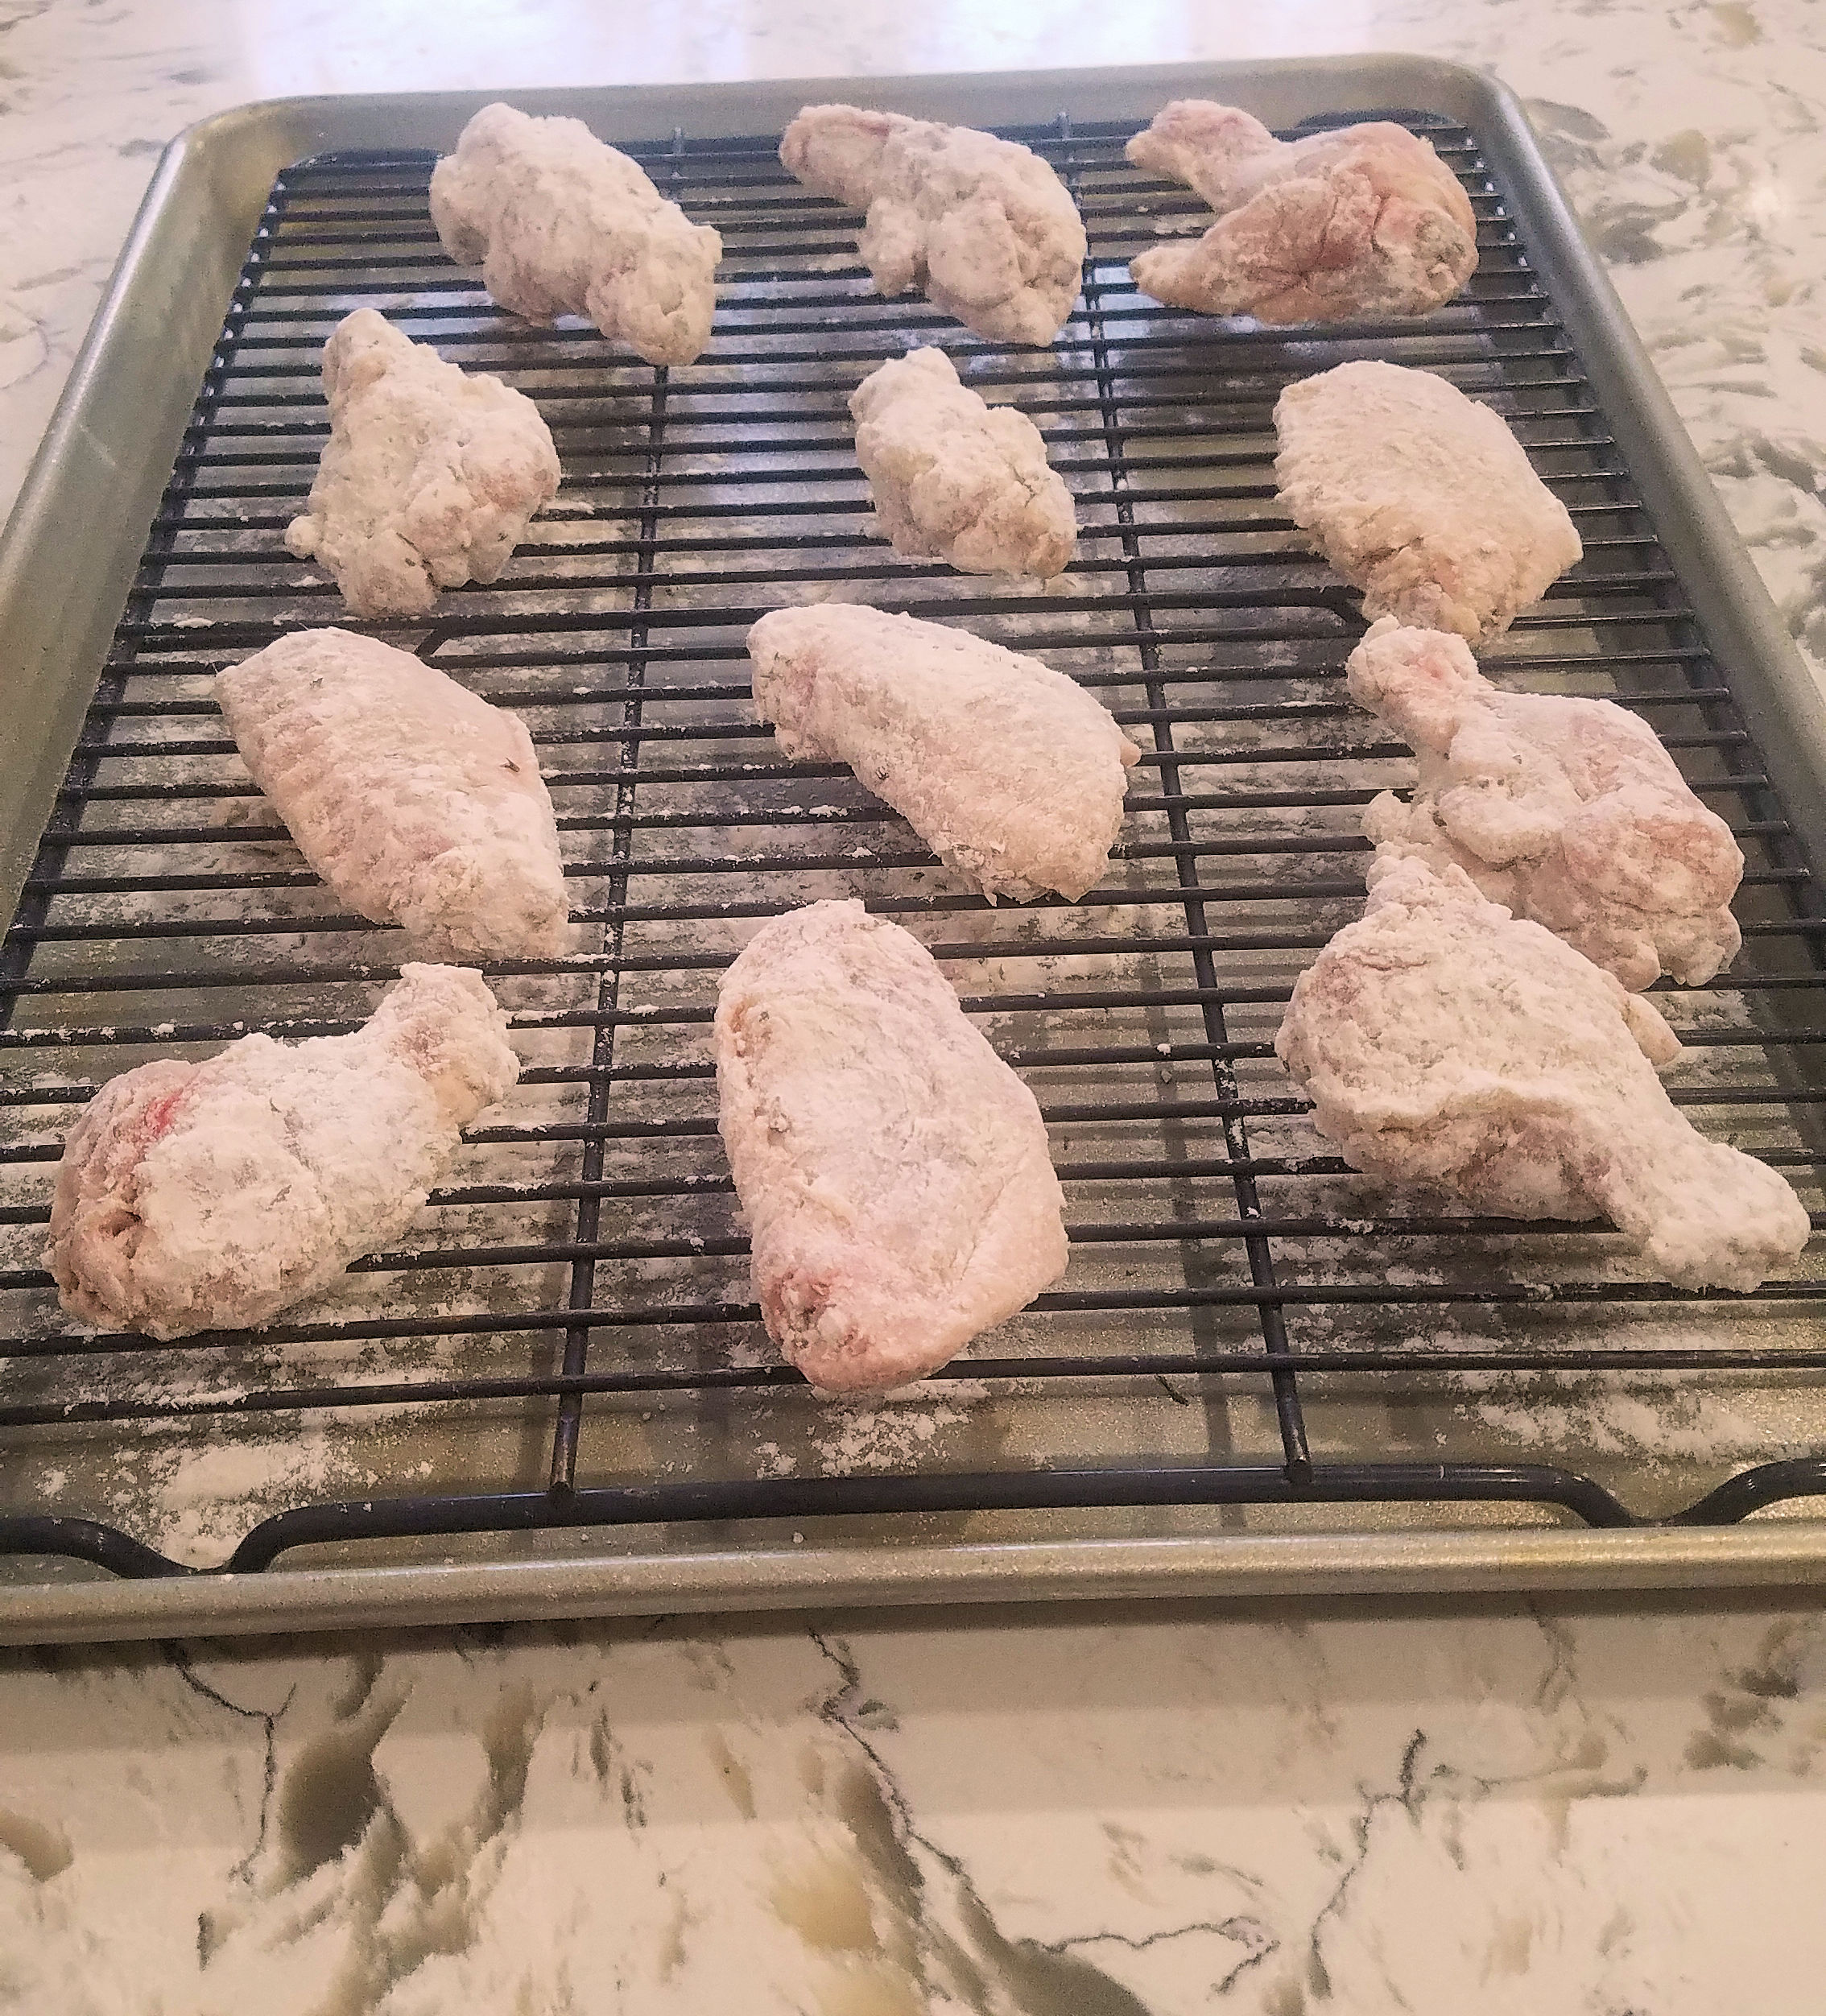
Baked Buffalo Wings:

Ingredients:

  • 15 wings (drumettes or flats – I used a combination), cleaned and wing tips removed
  • 2 cup flour
  • 1 tbsp salt
  • 1 tbsp dried thyme
  • 1 tbsp dried oregano
  • 1 tsp cayenne pepper
  • Buffalo Sauce (recipe above)
  1. Overnight, place the wings on a tray and place in the fridge. This will help remove moisture from the exterior of the wings and aid in making them crispy.
  2. Take the wings out approximately 30 minutes before making this recipe so that they are at room temperature. Preheat oven to 350 degrees Fahrenheit.
  3. Meanwhile, combine the flour, salt, thyme, oregano, cayenne together thoroughly and using a shallow pan or a plastic bag, dredge each of the wings until the wings are well coated with the flour mixture (shake off excess). Discard any remaining flour.
  4. Get a rimmed baking sheet and place a wire rack on top of it that is oven safe. Grease the wire rack and add the wings to the rack.
  5. Bake for 40 minutes and then flip the wings. After flipping the wings, increase the temperature to 425 degrees Fahrenheit. Bake an additional 25 minutes, or until there is an internal temperature of 165 degrees Fahrenheit in the wings.
  6. Once the wings are done, take out of the oven. While hot, toss the wings in a bowl of the buffalo sauce coating as much as is preferred. However, keep in mind that the more sauce you use, the less crispy the wings will be.
We found out after the fact that we didn’t have tartar sauce but this sweet chili sauce also went well with the pungent spices of the Old Bay seasoning.

Fried Old Bay Wings:

            Ingredients:

  • 15 wings (drumettes or flats), cleaned and wing tips removed.
  • 2 cups flour
  • 3 tbsp Old Bay seasoning
  • 1 tsp cayenne pepper
  1. Take the wings out approximately 30 minutes before making this recipe so that they are at room temperature.
  2. Heat up canola oil in a cast iron skillet (filled approximately 1/3 of the way and not more than ½ way) for frying. The temperature should reach 350 degrees Fahrenheit.
  3. While the oil is heating, combine the flour, Old Bay Seasoning, and cayenne together thoroughly; using a shallow pan or a plastic bag, dredge each of the wings until the wings are well coated with the flour mixture (shake off excess). Discard any remaining flour.
  4. Once the oil is heated, fry each wing about 12-14 minutes, flipping half way through. Work in batches so as not to overcrowd the pan. If you put too many wings into the oil, the temperature of the oil will decrease leading to soggy wings. Soggy wings make people sad. Don’t make soggy wings.
  5. Once the wings are cooked, move them to a plate lined with paper towels so as to drain the excess oil. While hot, sprinkle some Old Bay onto the cooked wings so that it will adhere. Be careful though as Old Bay tends to be salty.
  6. Move the drained wings onto a serving platter, serve with your favorite tartar sauce and celery. Serve immediately.
Advertisement

Paella: The One Dish Wonder

My parents decided to throw a dinner party last weekend, and while my mother and I discussed what to serve, paella came to mind for several reasons. It’s filling, it has great flavor, and while not difficult to make, it appears a labor of hard toil.

Few things on a table are, perhaps, as awe inspiring as a paella. This Spanish dish steeped in rich history and even richer flavor is the ultimate comfort food. With versatility of ingredients, you can really make this into whatever you want it to be and your guests will be impressed.

Paellas come in lots of shapes and sizes, though a traditional paella also has chorizo instead of chicken. Because several of our friends coming to dinner do not eat pork for religious reasons, I substituted the chorizo for chicken thighs. You’ll also notice that this recipe is meant to serve a lot of people – it’s easily scaled down. We had 12 adults and six children, and this recipe easily would have served another four to six people.

The recipe also calls for saffron, a key ingredient and worth the expense. However, a similar color (the yellow of the dish comes from the saffron) can be obtained from turmeric, but this will cause a different taste to the overall dish.

If you do not have a paella pan, a cast iron skillet makes for an ideal replacement due to the even heat distribution at the bottom of the pan – you want the bottom of the rice to be toasted, almost charred at the bottom. This is considered the prized part of the paella.

Herb Blend (used below):

  • 3 cups cilantro, chopped
  • juice of 3 lemons
  • 2 tbsp garlic, minced
  • 3 tbsp olive oil
  1. Combine all of the ingredients thoroughly. This is used in the paella recipe below but can also be used as a marinade for other dishes like baked chicken.

Paella (Chicken and Seafood):

Ingredients:

  • 2 tsp saffron
  • 64 oz seafood broth
  • 6 cups water
  • 4 tbsp olive oil
  • 16 chicken thighs, bone in
  • 3 onions, diced
  • 6 bell peppers (orange, red, yellow), diced
  • 4 cloves garlic, minced
  • 2 tbsp Hungarian paprika
  • 3 cans diced tomatoes (14.5 oz each)
  • 8 cups Arborio rice (uncooked)
  • 1 bottle dry white wine
  • Herb mixture (recipe above)
  • 2.5 cups frozen peas
  • 1 pounds mussels, previously cleaned and open mussels discarded
  • 1 pound little neck or cherry stone clams, previously cleaned and open clams discarded
  • 1 pound U-31 to U-40 shrimp, cleaned and deveined
  • ½ pound U-21 to U-25 shrimp, cleaned and deveined
  • 1 pound U-6 to U-8 shrimp, cleaned and deveined
  • Juice of 2 lemons
  • ½ cup cilantro, chopped
  1. In a large pot, bring seafood broth and water to a simmer; add the saffron. Keep on simmer while preparing the paella until needed.
  2. Salt and pepper the chicken thighs.
  3. Heat the olive oil in a large paella pan (if you do not have a paella pan, a cast iron skillet will work but adjust the measurements for the size of the pan) on medium high heat.
  4. Sear the chicken thighs on each side until golden brown, approximately 4-5 minutes per side.
  5. Remove the chicken thighs and set aside for later use.
  6. Add the onions and some salt. Sauté for 3-4 minutes. Add the peppers and cook another 4-5 minutes.
  7. Add garlic and cook until fragrant, about 1 minute.
  8. Add paprika and tomatoes. Cook down another 2-3 minutes.
  9. Add rice, distributed evenly initially. Cook 3-5 minutes or so, stirring frequently to coat the rice and toast it.
  10. Add the one and de-glaze the pan.
  11. Add the chicken back to the pan. Stir in the peas and herb mixture.
  12. Bring broth to a low boil. Once broth is halfway absorbed, nestle the shellfish into the rice. Cover the pan, either with a lid or foil if no lid fits.
  13. After approximately 10-15 minutes, take off lid and discard any unopened shell fish. The rice should be mostly cooked at this point. Do not stir the rice as the bottom needs to caramelize – this is considered the most prized part of the paella.
  14. Add the shrimp and cover again.
  15. In about 8-10 minutes, uncover. Shrimp should be opaque (if not, cover again until cooked).
  16. Turn off heat now that everything is cooked. Squeeze the juice of two lemons over the dish and garnish with sprinkle of cilantro (optional) for garnish and flavor. Serve immediately.

Misson Ribs: Oven Styled

The final product – the roasted ribs are at the forefront while the steamed ribs are furthest away. Garnishes of parsley bring some green to the dish and echo with a parsley salad that can be served with heavy barbeque to cut through the richness of the meat.

Sometimes life throws you a curve ball. I had intended to spend this weekend making a number of beef and vegetarian dishes as dictated by a fairly new habit I had formed in creating a twitter poll to dictate my food experimentation for the week. However, that was before the 8 inches of snow covering our yard and the emptied out grocery store shelves.

I started digging around and found some St. Louis style pork ribs, and a friend of mine had just had a conversation with me earlier in the week about her rib woes. Despite many trial and errors, she just could not seem to make her ribs tender.

I decided to try to methods to these ribs to see if I could assist in this problem (I even took notes, which, as many close family and friends would tell you is an exception rather than a rule in my cooking). I prepared one way using a steaming method, while the other slab, I prepared using a roasting method.

There are many decisions to make when making ribs: pork or beef, membrane or no membrane, dry rub or wet marinade. There are endless possibilities and even more preferences. Personally, I prefer a dry rub on pork ribs. I believe keeping the membrane intact, while making for slightly tougher eating, leads to a moister and more tender finished product.

Below, you will find the recipe for the dry rub as well as cooking instructions for both methods.

Dry Rub Recipe:

  1. Combine the above ingredients thoroughly. Store in spice cabinet if not in use.
  • 1 cup brown sugar
  • 3 tbsp smoked paprika (I used smoked here because I did not have access to my smoker due to the weather; if you opt to smoke the ribs, which we will discuss in a later article, you can use regular paprika)
  • 3 tbsp chili powder
  • 4 tbsp cumin
  • 1 tbsp kosher salt
  • 1 tbsp cayenne pepper (less for lower heat, more for higher heat)
  1. Combine all ingredients thoroughly and store in spice cabinet when not in use.

Steamed Ribs:

  • 1 slab St. Louis ribs, pork or beef
  • Dry rub (see recipe above)
  • Apple Cider Vinegar (approximately 2 cups)
  1. Cover ribs with dry rub on both sides until well coated. Do this at least two hours ahead of time or leave in fridge overnight for stronger flavor.
  2. Preheat oven to 225 degrees Fahrenheit. Let sit at this temperature for at least 20 minutes so that the oven can conduct the heat.
  3. Place ribs in a pan on a roasting rack. Place the apple cider vinegar beneath it (not touching) and cover with foil. Place in oven for 4 hours.
  4. Remove foil and increase temperature to 350 degrees for 15 minutes to put some color on the ribs and caramelize the brown sugar on the ribs. Reserve the liquid. Cut ribs into servings (every 2nd or 3rd bone).

Roast Ribs:

  1. Follow steps 1 and 2 of the Steamed Ribs. Instead of a roasting rack, line a rimmed baking sheet with foil paper. Place the ribs on it and cover with foil. At this point, follow steps 3 and 4 of the Steamed Ribs Recipe.

The Journey Begins

Welcome to our Table

“You can’t go wrong with simple comfort food. It’s also about ease. Some cook to impress. I cook for people to enjoy the food.” ~Al Roker


This simple quote by Al Roker highlights what, for me, all cooking should encompass. While presentation is a wonderful thing and certainly something we will discuss in our journey together, at the end of the day, the levels of flavor and taste will always eclipse a beautiful presentation. The best pairing for this symphony, however, is great company and that, too, we will discuss here – the art of entertaining, whether it is a small dinner with friends to a larger gathering of celebration.

So join us on this magical journey of kitchen experiments, tried and true methods, and exchanging of ideas to make your table laden with extra comfort.